How to Make a Tree Branch Bookshelf from Natural Wood
STEP 1: TECHNICAL SKETCH & MEASUREMENTS
Before cutting any wood, we always start with a detailed hand-drawn sketch – laying out the full structure of the tree bookshelf.
Here, you can see exact shelf measurements (length × vertical spacing), the full height (152 cm), and how the main branch and supporting limbs are distributed.
This freehand technical drawing is based on the real shape of the branches, helping us maintain both accuracy and natural balance during the build.

STEP 2: MARKING THE WALL FOR BUILD LAYOUT
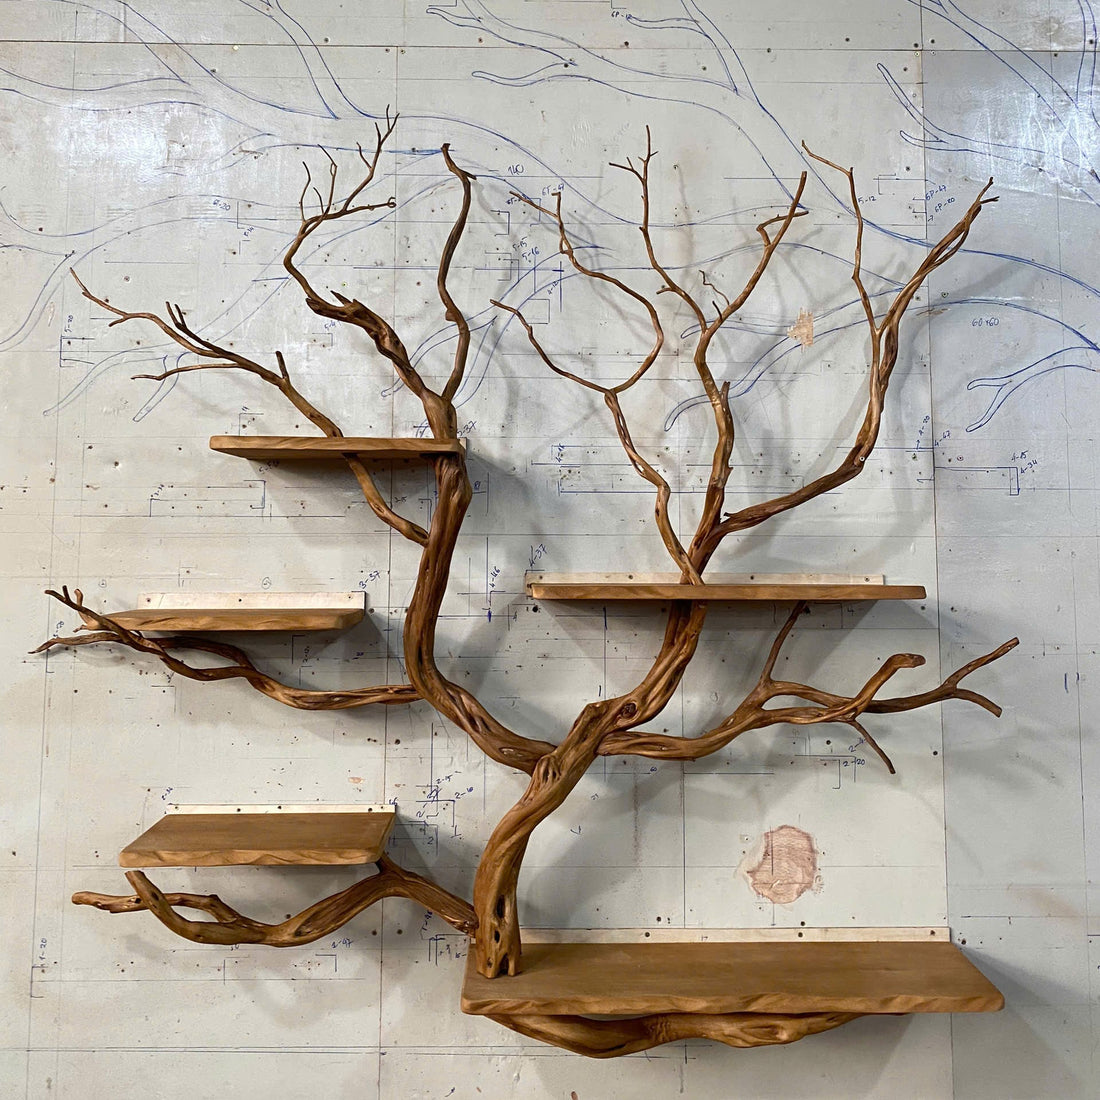
Once the paper sketch is ready, we transfer the layout directly onto a large wooden wall panel. Every shelf level, branch path, and joint point is mapped out at actual scale using technical pen markings. This stage ensures that the build process stays accurate from planning to assembly.
In the photo, you can see grid lines, height markers, and exact shelf slot positions drawn directly on the wall.
STEP 3: PREPARING BRANCHES & BUILDING THE FRAME
This is the phase where the structure starts to take shape. The main driftwood branch is placed along the pre-drawn guides. We then proceed with:
-
Marking key contact points where the branch touches shelves or wall.
-
Sanding and smoothing the wood to enhance texture and remove splinters.
-
Leveling the vertical frame, using a spirit level to align upright.
-
Test-fitting the first shelf, ensuring proper contact and weight distribution.


Once the main branch and first shelf are secured, we begin attaching the secondary branches. These play both a visual and structural role – creating a natural tree-like spread and supporting additional shelves.


🌟 Final Result: Natural Handmade Tree Bookshelf

The final shelf is now fully assembled and finished with natural wood oil to enhance the grain and preserve the texture.
A perfect blend of nature and design.